BAM Family

BAM Family

Labels

Showing posts with label Refashioning. Show all posts

Monday, December 17, 2012

DiY Peplum Shirt: Tutorial!

Peplum tops are so popular right now! With a cute little ruffle bottom, what's not to love? A peplum top is flattering too, especially for me since I am 7 weeks postpartum and have a *bit* of a tummy right now. 
Here is how to refashion a large maternity shirt into this cute top!
You need:
 An oversized maternity top (or any other large and long shirt)
First, cut off the bottom of the shirt 1 inch below your natural waist
Lay a shirt that fits you well over your large top. Cut sleeve to length if you want shorter sleeves. 
Fit your shirt with pins by using the smaller shirt as a pattern. Be sure to leave a seam allowance!
Sew along the pin line, removing pins as you go.
Try the shirt on and adjust if necessary.
Trim excess fabric.
To make the peplum, take the bottom of the shirt (the part you cut off) and sew 1/4 inch elastic (cut to the measurement of your natural waist) to the raw edge of the peplum
Use the stretch stitch on your sewing machine (the broken zig-zag above) to sew the elastic. 
Stretch the elastic as you sew to gather up the peplum.
Next, turn the shirt part right side out and put the shirt inside the peplum so right sides are together. Pin generously, stretching the elastic as you go. Use the stretch stitch again as you sew along the elastic a second time, joining the shirt and peplum together. 
Hem sleeves (if shortened).
Turn right side out. 
DONE!
The finished product!
Even cuter with a belt or bow! 

This was a fast project and I think the results are pretty cute! Enjoy making your own peplum top!

Friday, July 13, 2012

DIY Burp Cloths

You can never, ever have enough burp cloths when you have a newborn. Unfortunately, even though I have twins, I don't have any burp cloths left. They got worn out, stained beyond respectable use, or just plain nasty. So, today I sewed a dozen burp cloths for our new little guy-on-the-way.
(the formatting is really screwed up on this post...not sure how to fix it...sorry!)
 Burp cloths are really easy to make. I won't do a tutorial here because it would be easier to google "burp cloth tutorial"
Basically, I cut two rectangles of fabric with rounded corners and put them right sides together. Then I sewed around the edge with a 1/4 inch seam allowance, leaving a 2-3 inch opening. I then turned and top stitched (a narrow stitch around the perimeter of the burp cloth to sew the opening shut). Done!
 
 This is a great fabric stash busting project! I didn't buy any fabric to make these. In fact, I upcycled several pieces of clothing to make these! The black plaid was a pair of Aaron's shorts that had a tear.
 
 These green plaid ones were a pair of Aaron's pj pants that were really worn out. 
 
 These burp cloths are made out of a pair of really soft corduroy pants.
 
These cloths are from the lining of a skirt that I didn't like. All the cloths are backed wit recycled flannel from Micah and Benji's old receiving blankets. So, this little project is a whole family affair! Shorts/pants from Daddy, blankets from big brothers, sewn by Mommy!

Now I have a dozen new burp cloths for Silas Edward! Think I have enough?? I'm not sure.... 
I also made these six for a friend who is having a girl.These cloths are backed by new white flannel.

They are so pretty! I hope she likes them. :) 
(I did a little upcycling on these too--the blue flowered fabric is from a skirt and the pink flowered is from a sundress. I love finding new purposes for unused garments!)

Burp cloths are so easy and inexpensive to make. I really enjoyed making them special for our new little boy. 

Sunday, April 22, 2012

DIY Maternity Dress: Upcycled Men's t-shirt

Here's another DIY Maternity project from one of my Goodwill finds! I forgot to do a "before" picture (got a little too excited with the scissors) but the skirt is made from an extra large Mens t-shirt I got for $3.50. I have had the tank top for FOREVER (before I was married 6 years ago) and recently only wore it for pj's, so it got a new life with this dress too. I made the belt for another dress and it works perfectly with this color combo. 
I followed this tutorial for the dress. I have actually made a TON of two-fer dresses (I mean, I have a whole category on my blog for two-fer creations) but this tutorial was really clever. The unique thing about this dress IS using the men's t-shirt for the skirt because men's t-shirts are longer in the back than in the front. So, as my belly grows, the hem should stay (relatively) even. Clever, right? 
 As you can see, I should have yanked my skirt down a little bit in the back for the picture (darn my big caboose) but the front IS longer than the back. My 15 week bump is still pretty little right now but as it grows, the hem *should* round out nicely. 

I don't think I'll be able to wear it for the whole 9 months (I didn't use the elastic for the waist like in the tutorial [though I did use the stretch stitch on my machine to ensure that I wouldn't pop stitches as I grew] because my fabric wasn't wide enough--in fact, I was worried for a few minutes that t-shirt wouldn't be big enough) but I think it will be good for the end of spring/beginning of summer months.

I love how the dress turned out! It is really comfortable and will be good for hotter days by itself, or for cool, wet days (like today) with a cardigan and leggings. 

Sunday, April 15, 2012

DIY Maternity: Top from Men's T-shirt

I upcycled one of my Goodwill finds today! I had so much fun with this project and I love the results. 
 Here's before: A medium Mens t-shirt I bought for $3.50.
 It is 95% cotton 5% spandex so it has a nice softness and stretch. 
 I followed this really simple tutorial on DIYMaternity and here is the finished result!! I love it! It is so comfortable and I think it turned out pretty darn cute!
(It looks lavender in the sunlight but the true color is darker, like the picture below)
(It looks like I am sticking my butt out in this pic...maybe it is really just that big...sigh...)

Here is a pic of the side. I added a little girly tuck to the top of the sleeves. 
The shirt has such a nice stretch to it; I will be able to wear it for many months to come! 

I have several more projects coming up! I am having way to much fun sewing my maternity wardrobe. 

Friday, December 30, 2011

Lace Embellished T-shirt

Another t-shirt refashion, this time with lace! 
Lace embellishments are very fashionable right now and I wanted to jump on the bandwagon because, hey, I like frilly and girly. 
 The tutorial was really easy to follow and the whole project took me about an hour. 
 However, I decided it looked even better on my best friend, Candace!
She loved the shirt so this simple, yet lovely, embellished t-shirt is now hers! Happy (belated) Christmas, Candace!

Tuesday, August 2, 2011

Onesies to Undies: A Tutorial

When I started potty training my twins, I ran into the problem of 1) not having enough underwear, 2) not having enough money to BUY underwear, 3) the underwear I DID buy being too big for my skinny two year olds. So....I decided to make my own!

Undies from onesies are perfect for moms who want to potty train early (before age 2 or so. It is seriously hard to find underwear to fit itty bitty children) or for really small kids (like mine. The boys were swimming in the 2 year old trainers I bought from Wal-mart when we starting potty training last summer).

Here is my super-simple tutorial for turning your onesies... 
 
....into undies!!

Supplies:
Onesie (one one pictured above is an 18/24 month, I believe) And it has a stain. PERFECT!
1/4 inch elastic
Sewing supplies (machine, scissors, thread, pins)
Kid who needs underwear (ok, not really a "supply"...)
First, decide where you want to cut. I used a pair of store bought underwear as a guide. CUT!
Next, cut off the snaps along the seam
Fold the bottom part up and pin. Get creative about putting the fabric under your sewing machine foot. Zig-zag across. If you want to put the material right sides together so the raw edge doesn't show, go right ahead. I wanted to minimize the seam so it wouldn't scratch or be uncomfortable for...you know. Plus this way is WAY easier. 
Next, set your machine to a stretch stitch. It's the letter D on my machine. This is for stitching elastic. (whaddaya know?? You learn something new every day!)
Lay your elastic 1/4 from the edge. Don't cut the elastic to size. It is much easier to use a big long piece and then cut it off when you are done. 
Keeping your child's waist size in mind (hmmm....skinny minnie or buddah belly?), stretch the elastic accordingly. My kids are SKINNY so I pull it pretty tight. (If you are conflicted about how tight to pull it, make a pair, try it on your kid and then adjust accordingly for future pairs). 
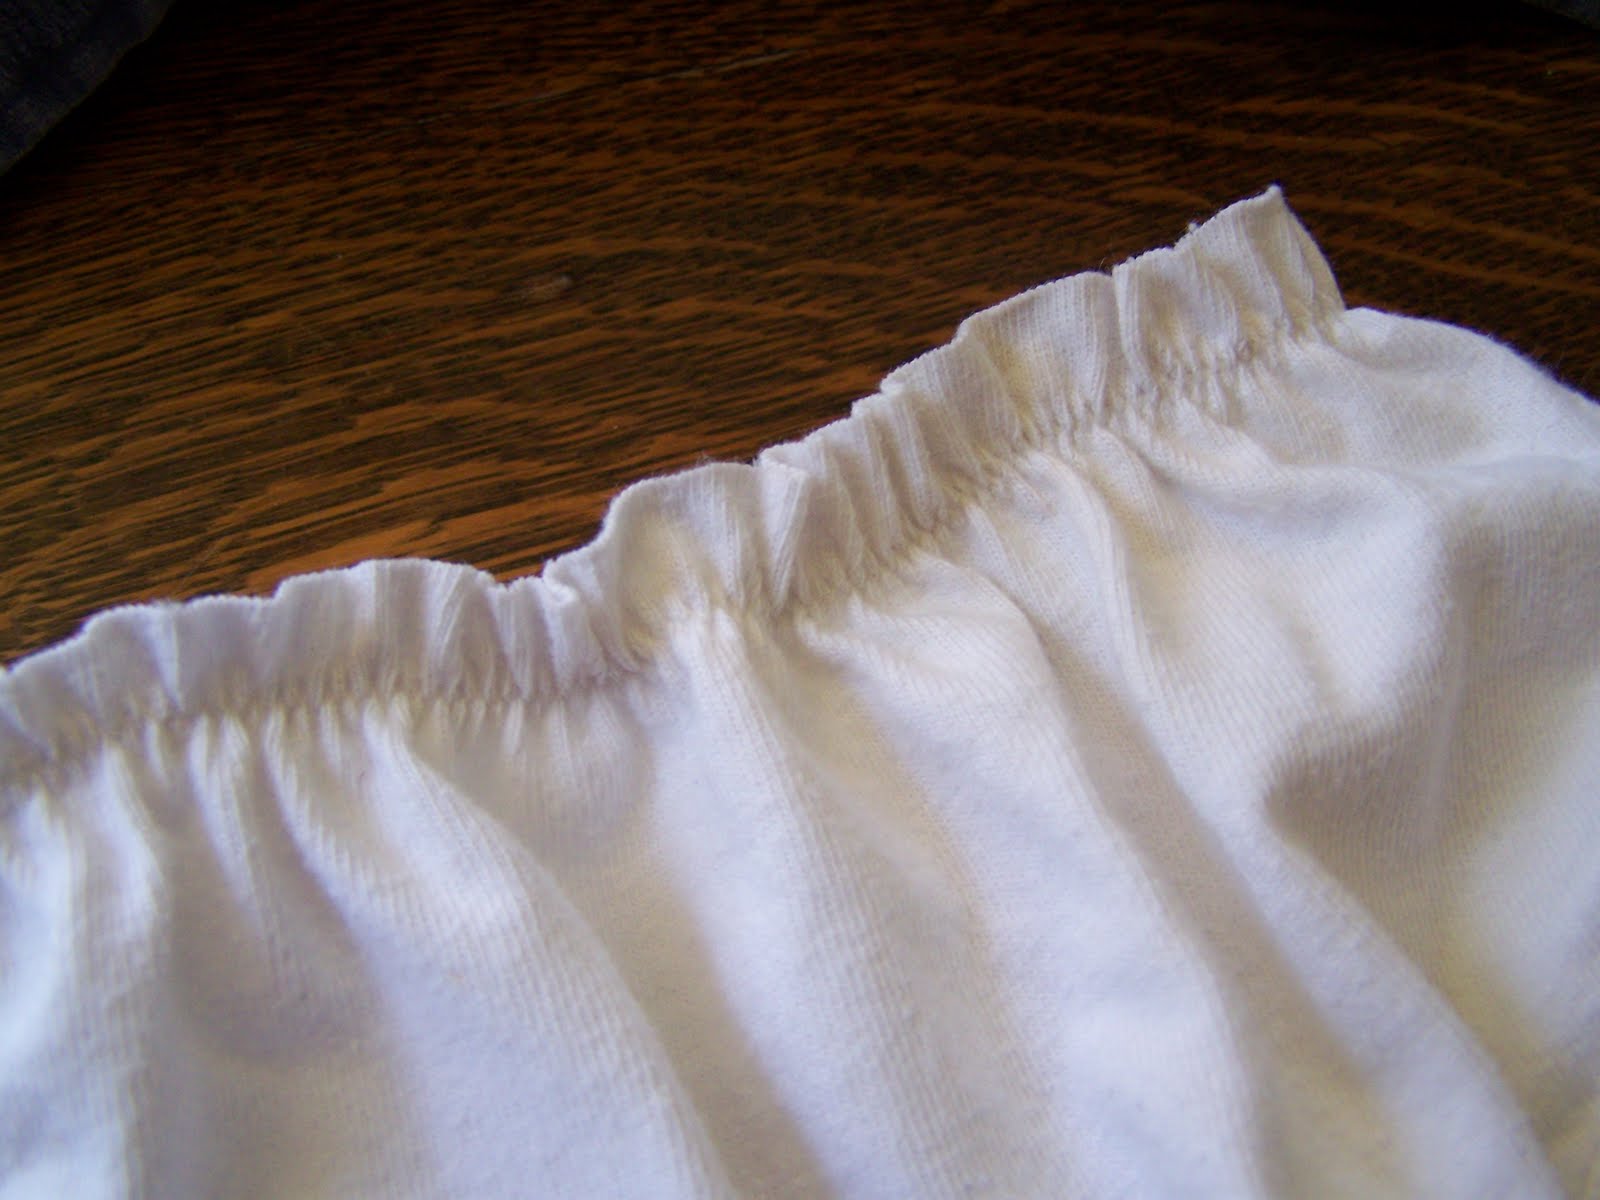
See how the elastic bunches up the fabric as you sew? SO much easier than making a casing and threading the elastic through (believe me, I tried this way). And since you are sewing on knit, there are no worries about raveling. 
When you reach the end of your waistband, double over the ends of the elastic and backstitch the heck out of it. Then snip the elastic and threads. DONE!
If your machine doesn't have a stretch stitch, you can use a zig-zag (which is what I actually used here because I was so caught up in taking pictures for this exciting tutorial that I forgot to switch the setting on my machine....). 
There! Wasn't that easy?
I promptly tried the undies on my child--you should too!
 (Yes, he is 3.5 and can wear the 18-24 month onesie underwear. We're skinny like that in the Meng household)
You can even embellish your new undies by using the picture from the top of the onesie! Just cut out the picture and zig-zag around the edges.
Go ahead! Knock yourself out! You kid is going to pee through 25 a day when you start potty training. (ok, maybe that is just my kids....)
By the way, I made these unders last summer and they have held up beautifully. 
Hmm....now what to do with the top....if it WASN'T stained (and I had a daughter), it would be perfect for making the Little Two-fer dress! 
Oh, the refashioning possibilities!! 
Happy sewing! 

Monday, July 11, 2011

The T-Shirt Swaddler

Though there are no babies in my home or near future, I have so many friends who are pregnant right now! And many of them are giving birth this month! For this project, I was inspired by a link my friend Amy posted on her FB wall--the Swaddle Me Wrap. This idea is so cute! I actually never had one (I bought receiving blankets like they were going out of style) but I think that they are an awesome idea. So awesome in fact, that I thought to myself, "I want to make one of those." 

I like to reuse fabrics as much as possible and I had this pile of t-shirts from Goodwill that have been sitting in my living room for MONTHS! With the built in "wings" (sleeves), I thought a t-shirt would be the perfect base for this project. (my first attempt failed miserably so this is "Take 2." I think it turned out a lot better though there are still kinks to work out. This definitely isn't the prettiest thing I have ever made). 
Since I have no babies (my kiddos are 3.5 years old), I dug out good ol' Molly from the basement. She is a little small to stand in for a newborn (only 18 inches) but she was the best I could do. Plus she was the perfect model and slept for the entire photo shoot. :)
Place your baby in the swaddler pocket (it has a little elastic to help it keep its shape). 
 Tuck one of the wings over
 Tuck the other one over and secure the velcro around the back
This swaddler would work for a newborn to infant (Molly's feet were 4-5 inches from the bottom of the pocket)
 I used a long piece of loop so that the swaddler is slightly adjustable as far as how tight you could wrap your baby
A close up of the pocket

I really like the idea of this project but I am not sure if it is 
"Awesome--I want one!" 
or 
"Nice try but stupid and ugly." 

Mommas--give me some feedback! Do you think this would work for a baby? Or should I scrap this idea? 

Like this? Share it!

LinkWithin

Related Posts Plugin for WordPress, Blogger...